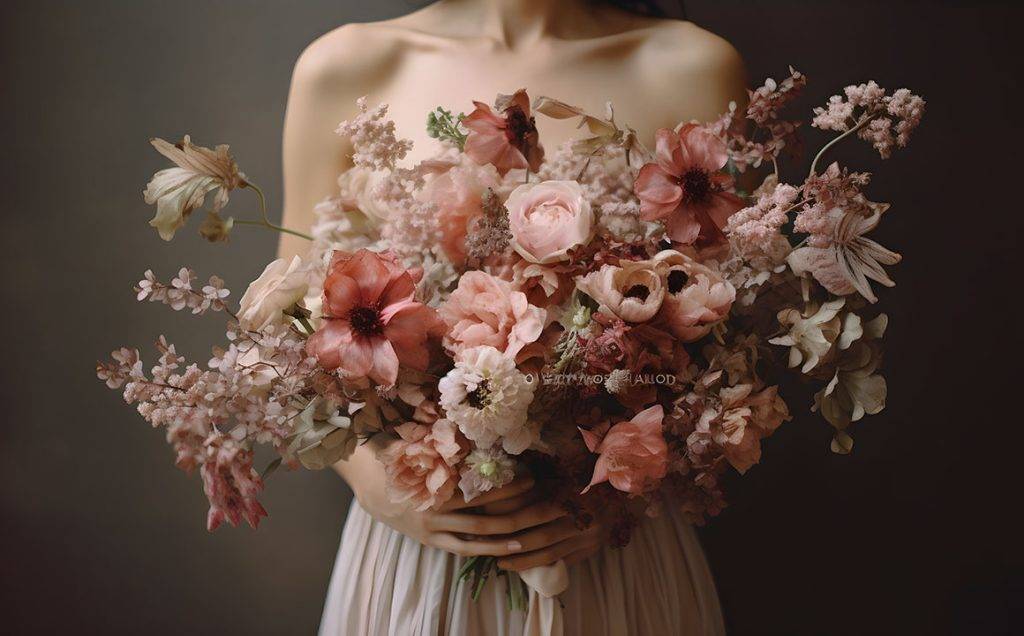
Are you currently in the process of planning your own wedding? Or maybe the wedding of one of your favorite people? Then you probably already know how important a wedding bouquet is. Not only is it an important part in the wedding pictures, but it’s also the final touch to your wedding look and venue. However, it’s not just about flashy looks. A wedding bouquet also has to hold some emotional value for the person who is getting married. And what better way to achieve that than by making your own? Making a DIY wedding bouquet may sound like a huge risk, however, it you follow the right steps — it has the power to capture the magic of your special day effortlessly.
Gather Inspiration and Materials
Begin by immersing yourself in inspiration. Browse through bridal magazines, online galleries, or social media platforms dedicated to weddings. Collect images that resonate with your vision for the bouquet. Pay attention to color schemes, flower types, and arrangements that evoke the ambiance you desire. Once inspired, compile a list of materials needed for your bouquet. Head to local florists, farmers’ markets, or flower shops to gather your chosen blooms, greenery, and any additional decorative elements.
Choose the Perfect Blooms
The selection of blooms is pivotal in capturing the desired romantic and natural ambiance. Consider flowers that align with your wedding theme and personal style. Classic choices like roses, peonies, ranunculus, or dahlias exude romance, while wildflowers or eucalyptus lend a natural, whimsical touch. Ensure the flowers you select are in season and robust enough to withstand the day without wilting prematurely.
Assemble Your Tools
Gather all necessary tools before diving into the creative process. Ensure you have floral tape, wire, sharp floral scissors, ribbon, pins, and a spacious, well-lit work area. Having everything at hand before starting will streamline the bouquet-making process.
Creating the Masterpiece
Prepare the flowers by carefully removing excess leaves and thorns. Trim the stems at an angle to facilitate water absorption and enhance their longevity. Organize the blooms based on size, color, and texture, setting the stage for a beautifully varied and balanced arrangement. Begin by selecting a standout bloom as the centerpiece of your bouquet. Surround it with complementary flowers, layering different sizes and textures to create depth. Continuously rotate the arrangement as you add new blooms, building up the bouquet in a rounded, balanced fashion.
Secure the Bouquet
As you add each new stem, use floral tape to secure them together firmly. This gradual process ensures the bouquet maintains its shape and structure. Once you are satisfied with the size and fullness, trim the stems to a uniform length for a polished finish. Enhance the aesthetic appeal by wrapping the stems with a ribbon or fabric that aligns with your wedding theme. Secure the wrapping with pins or floral wire, leaving a part of the stems exposed for a rustic, natural touch. Trim any excess ribbon or fabric for a neat and elegant presentation.
Be Gentle
To preserve the freshness of your bouquet until the wedding day, place it in a vase filled with water. Store it in a cool, dimly lit area to maintain its vibrancy and keep it hydrated. On your wedding day, handle the bouquet delicately. Hold it gently to avoid damaging the delicate blooms and keep it hydrated by occasionally spritzing water onto the stems. These small measures will ensure that your DIY wedding bouquet masterpiece radiates beauty and charm throughout the celebration.

